

This is a tutorial on advanced blending techniques in Photoshop. Beginners need not be put off, because they too will find it easy.
Step 1 : I have opened this image in Photoshop. I intend to add text to it and then use the advanced blending method to give a special effect.
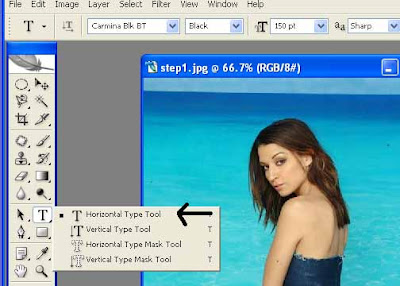
Step 2 : Click the Type Tool from the flyout.
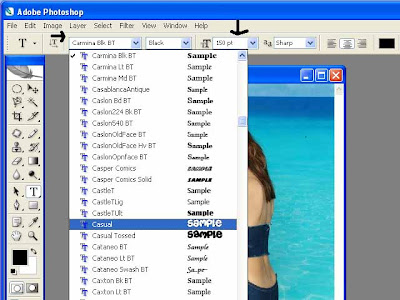
Step 3 : Select the font from the dropdown box and the pts (points i.e. how large it will be).
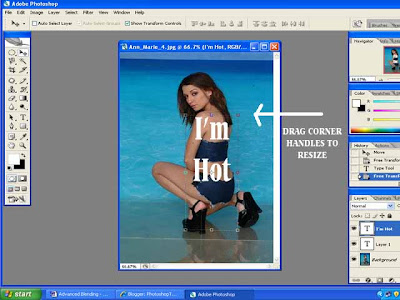
Step 4 : The text has been added. Use the corner handles to resize the text. If you can't resize, tick the box Show Tranform Controls at the top.
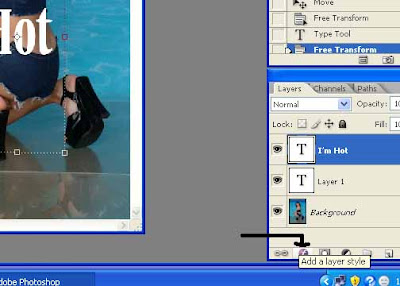
Step 5 : Go the Layers/Channels/Paths pallete. Click the Layer Style button. It's the first one with 'f' written on it. See the arrow.
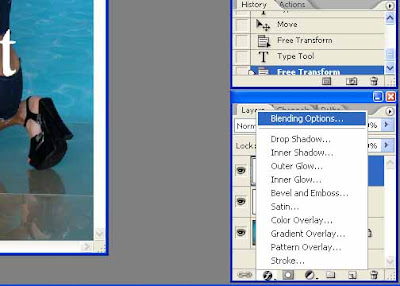
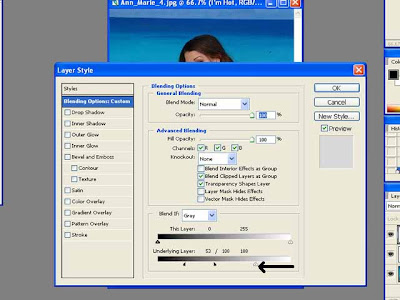
Step 6 : When you click the Layer Style button the above dialogue box opens. Click on Blending options as shown.
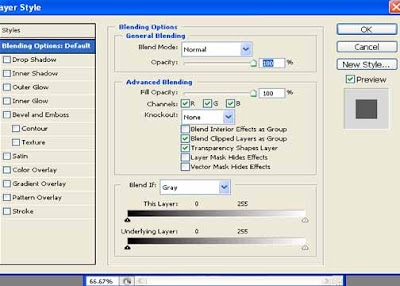
Step 7 : This dialogue box opens.
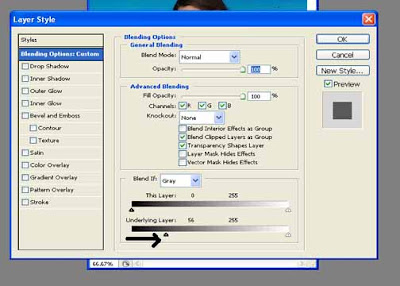
Step 8 : Now drag the bottom button slider to the right.
Step 9 : See how the lettering changes.
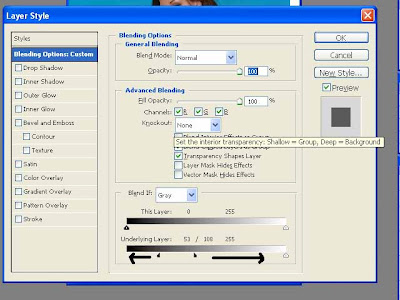
Step 10 : Now press ALT on your keyboard the click the button slider. The button will split into two. Drag the split sliders to the right and the left as shown.
Step 11 : Now drag the White slider at left as shown. Again press ALT which will split the button and drag to right and left.
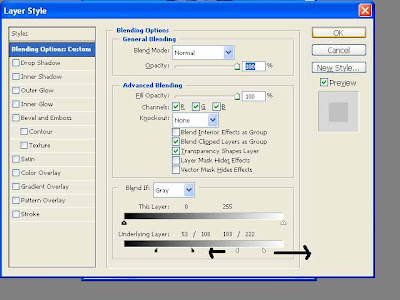
Step 12 : Now after pressing ALT split the White Button and drag the split buttons to the right and left.
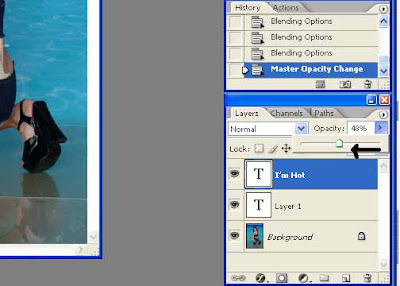
Step 13 : Now lower the opacity by sliding the opacity slider to the left.
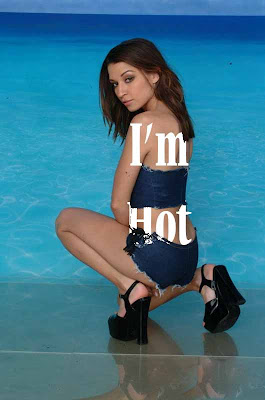
The finished image. Instead of lettering you can use this technique to blend two images. You will get amazing results.


