
Create a wood texture for use as backgrounds. The steps are simple. Photoshop has some built in filters which we will use to create the wood texture. Just follow the steps.
Step 1 : Open a new White Layer of any size.
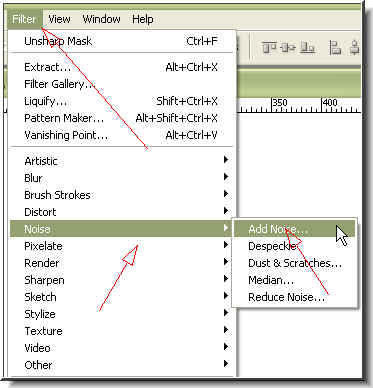
Step 2 : Go to Filter>Noise>Add Noise
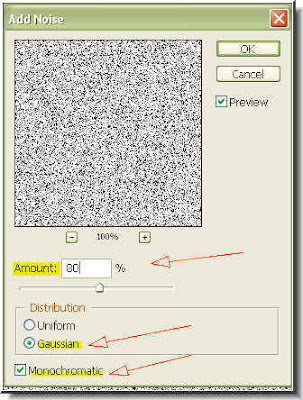
Step 3 : When the Add Noise dialogue box opens, set the 'Amount' to 80, make sure the 'Gaussian' button is checked as also 'Monochromatic'. Click ok.
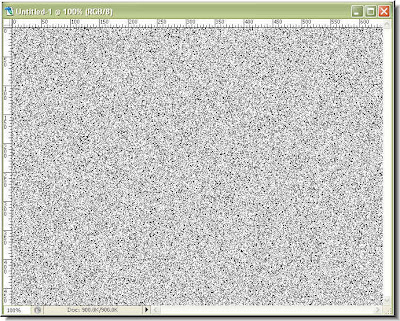
Step 4 : This is how the texture looks. Not at all like wood!
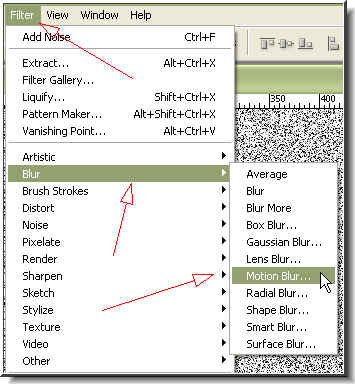
Step 5 : Go to Filter>Blur>Motion Blur.
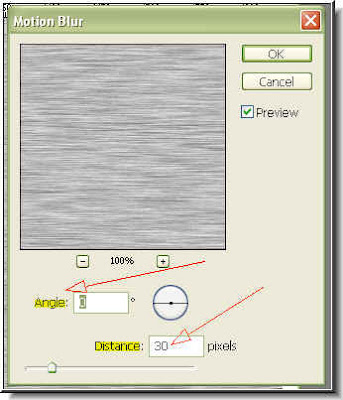
Step 6 : When the Motion Blur dialogue opens set the 'Angle' at '0' and 'Distance' at 30 pixel. Click ok.
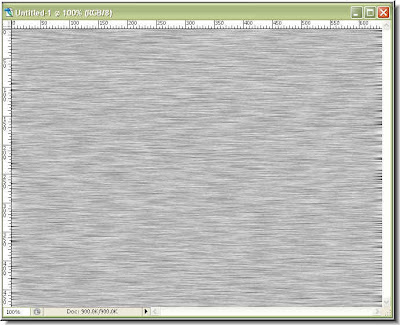
Step 7 : This how the texture looks like. Still does not look like wood. Does it?
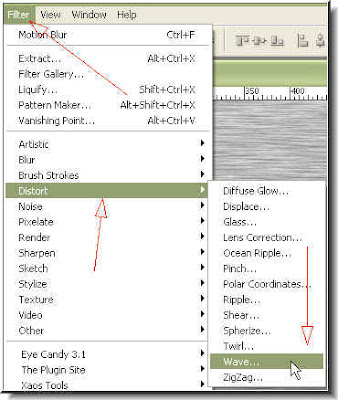
Step 8 : Go to Filter>Distort>Wave.

Step 9 : When the Wave dialogue box opens, make sure that the settings are given as highlighted. 'Type' should be set to 'Sine', 'Number of Generators' - 6, 'Wavelength' 'Min -1, 'Max - 120'. At the bottom set the 'Undefined Areas' as 'Repeat Edge Pixels'. Click ok.
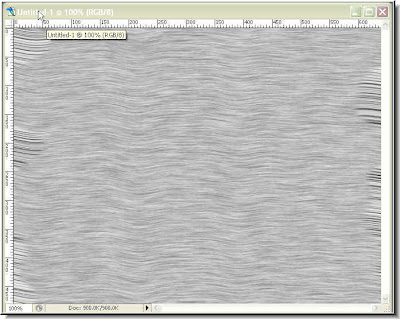
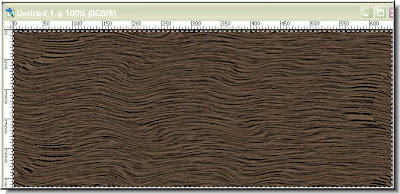
Step 10 : This is how the texture looks.
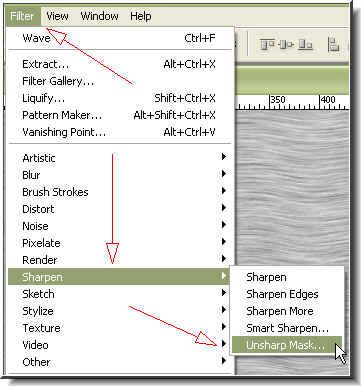
Step 11 : Go to Filter>Sharpen>Unsharp Mask.
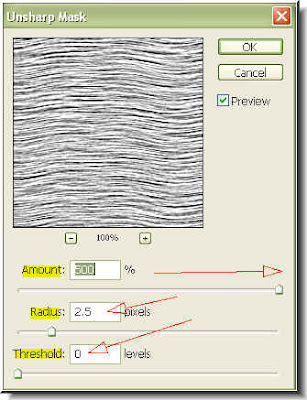
Step 12 : When the Unsharp Dialogue Box opens push the 'Amount' slider all the way to the right. Let the 'Radius' remain at the default at 2.5 and 'Threshold' at zero. Click ok.
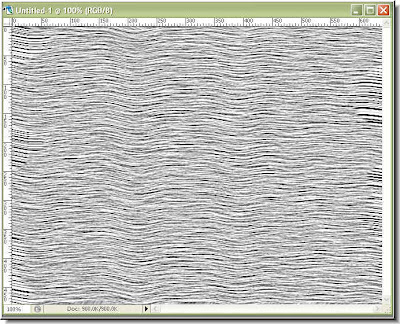
Step 13 : This is how the texture looks now.
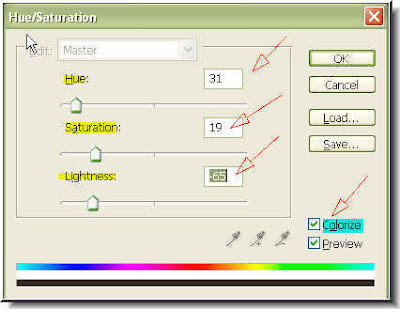
Step 14 : Press CTRL+ALT+U on your keyboad and it will bring up the Hue/Saturation dialogue box. First make sure that 'Colorize' is checked. Now give the settings as I have done for the Hue, Saturation and Lightness sliders. Click ok.
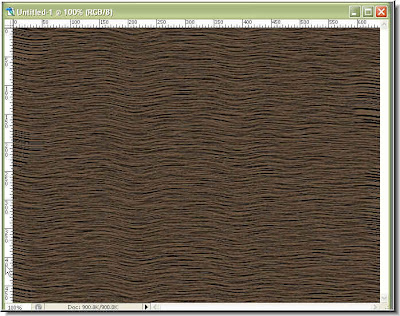
Step 15 : Here is the result.
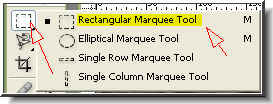
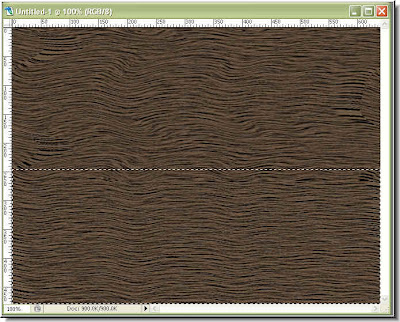
Step 16 : Now pick the Rectangular Marquee Tool. Click to select it.
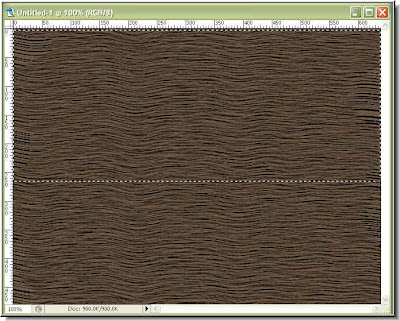
Step 17 : Draw a selection covering the top half of the canvas.
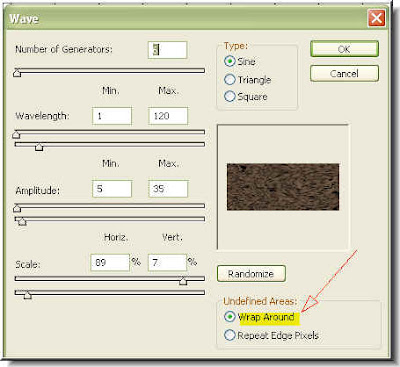
Step 18 : Go to Filter>Distort>Wave. Apply the earlier settings, but change the 'Undefined Areas' to 'Wrap Around'. Click ok.
Step 19 : Note that the wood 'grains' now appear more randomly giving a realist look to the texture.
Step 20 : Now select the bottom half of the canvas with the Rectangular Marquee Tool. Now press CTRL+ALT+F on the keyboard. This will apply the Wave filter to the bottom portion. Press CTRL+D to deselect. You are done.
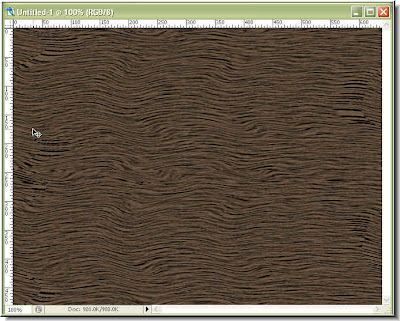
The wood texture.
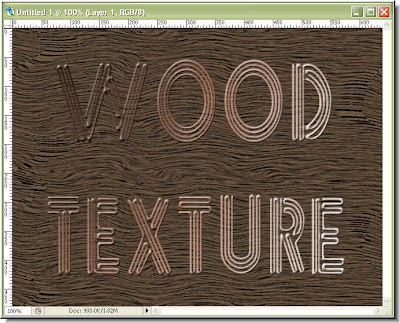
Add some text. There you are! Try it out.


