
I will attempt to create a cracked egg and will make something emerge out of it. This can be done in any version of Photoshop.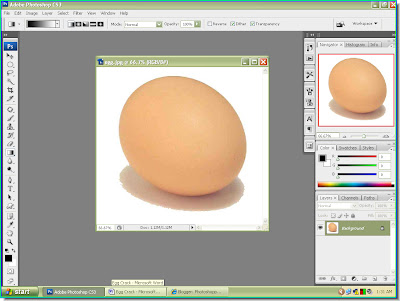
 Step 2 : Click the Pen Tool to select it.
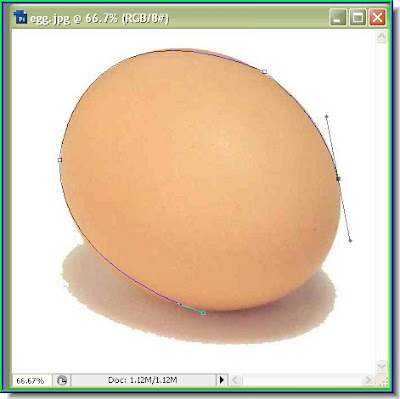 Step 3 : I am making a selection with the Pen Tool. You must know how to use it. The tutorial on how to use the Pen Tool is here.
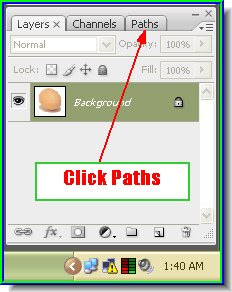 Step 4 : In the Layers/Channels/Paths pallette click on Paths.
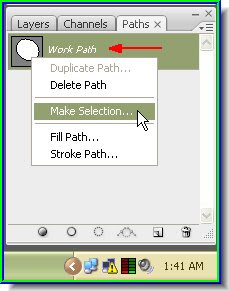
Step 5 : The Paths pallette has opened. You can immeditately see the Workpath. Right click it and from the drop down click Make Selection.
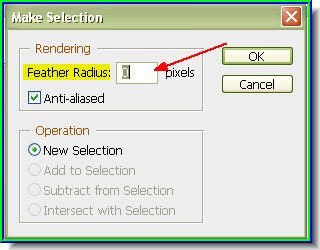
Step 6 : As soon as click Make Selection the Make Selection dialogue box opens. Put the Feather Radius at zero. Click ok.
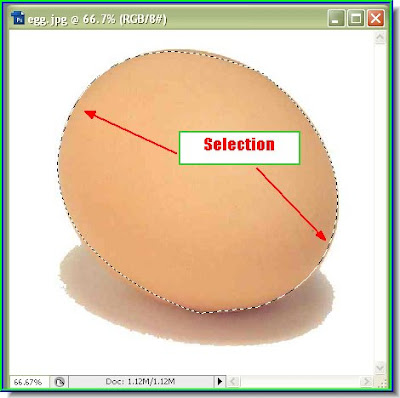
Step 7 : The egg has been selected.
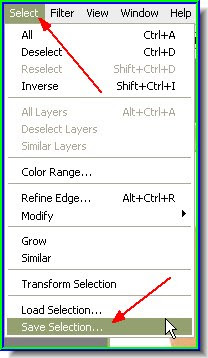
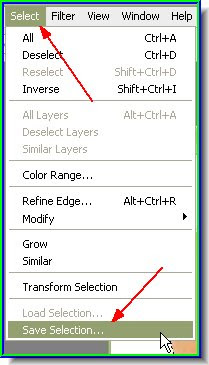 Step 8 : Go to Select>Save Selection.
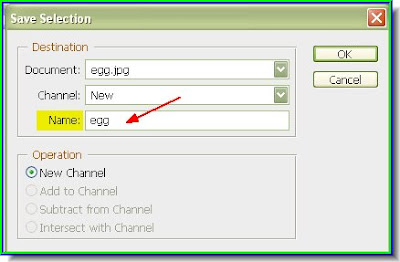 Step 9 : The Save Selection dialogue box opens. I have named the selection 'egg'. Click ok. Press CTRL+D to deselect.
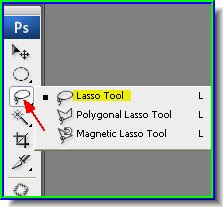 Step 10 : Now click the Lasso Tool to select it.
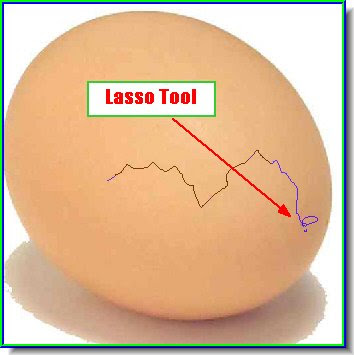
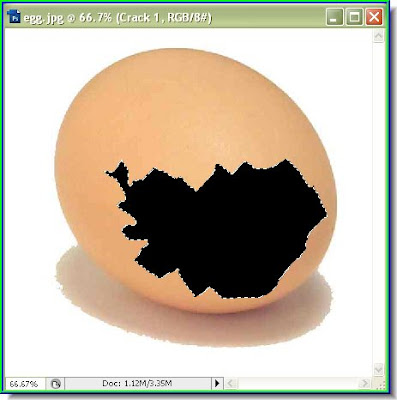
Step 11 : I am drawing out a selection for the 'crack'.
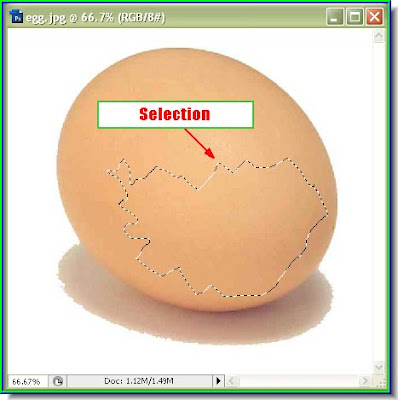
Step 12 : The selection with the Lasso Tool is complete. This will be the crack.
 Step 13 : Go to Select>Save Selection.
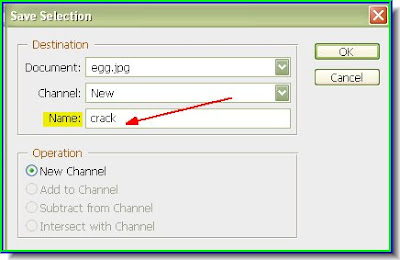 Step 14 : The Save Selection dialogue box opens. I have named the selection crack. Click ok. Press CTRL+D to deselect.
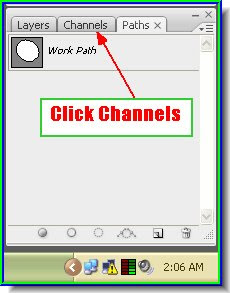
Step 15 : I was working on the Paths pallette. Now I will click on the Channels pallete.

Step 16 : The Channels pallette opens. Notice the 'egg' and 'crack' channels at the bottom.
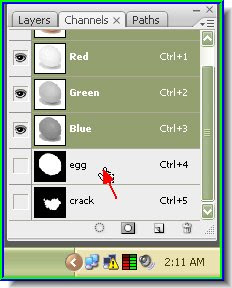 Step 17 : CTRL+CLICK the egg channel.
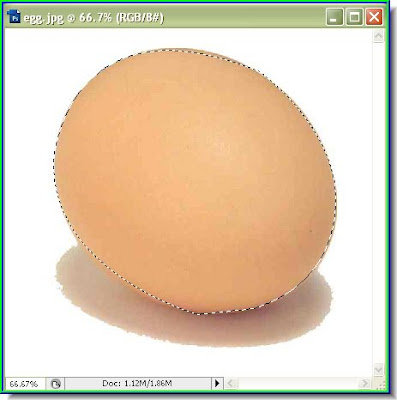 Step 18 : This reselects the egg.
 Step 19 : Now press CTRL+ALT+SHIFT on the crack channel.
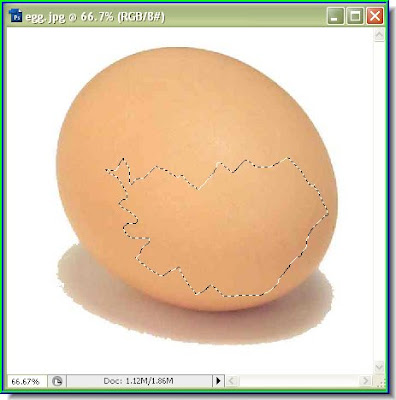 Step 20 : This reselects the crack.
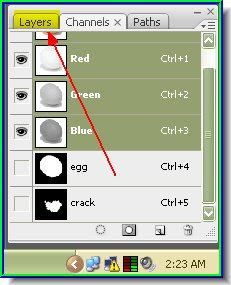 Step 21 : Now click on the Layers pallette.
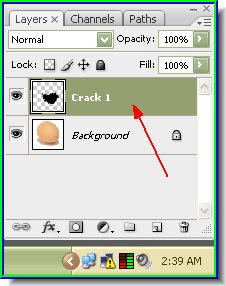
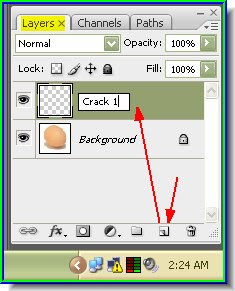 Step 22 : In the Layers pallette click on the New layer button shown by the red arrow. This will form a new layer. Double click where the arrow points to and you can rename it. I have renamed it Crack 1.
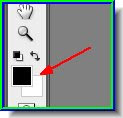 Step 23 : Makw sure the Foreground Color is set to Black. The small bent arrow switches between the Foreground and Background color.
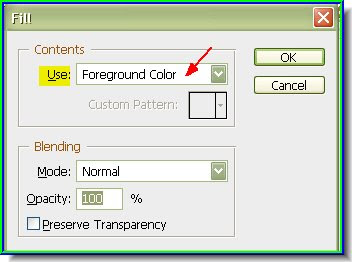
Step 24 : Press SHIFT+F5 and the Fill dialogue box opens. Make sure 'use' is set to Foreground Color. Click ok.
Step 25 : The selection has been filled with Black.
 Step 26 : Click on the Crack 1 layer to select it.
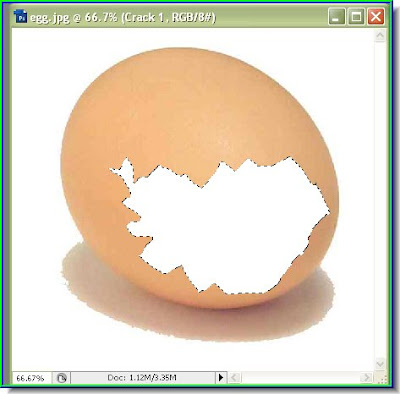
Step 27 : Press CTRL+I. The black will be inverted and become white.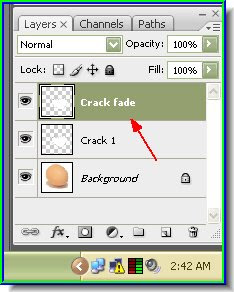
Step 28 : Press CTRL+J. This will form a new layer above Cracks 1. I have renamed it Crack fade.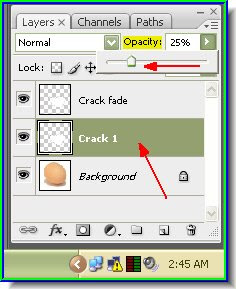 Step 29 : Click on Crack 1 and lower the Opacity of the layer to 25 %.
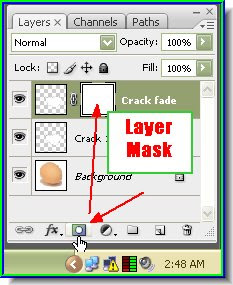 Step 30 : Now click on the Add Layer Mask button shown by the small white and a Layer Mask forms next to the Crack fade layer.
 Step 31 : Make sure Foreground Color is set to Black.
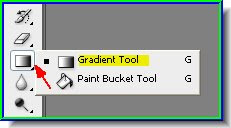 Step 32 : Click on the Gradient Tool.
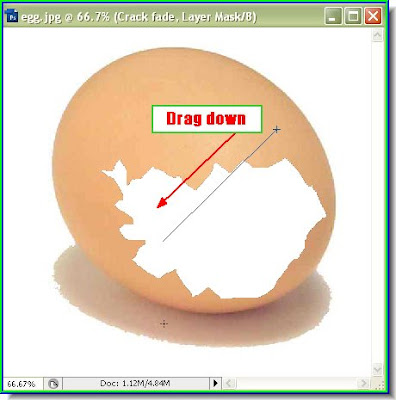
Step 33 : Drag down diagonally with the Gradient Tool.
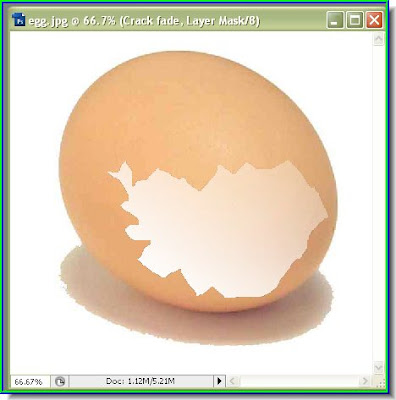
Step 34 : This is the effect you get. This is the cracked egg.
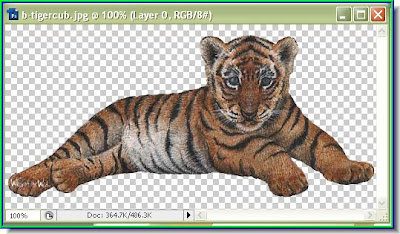
Step 35 : I will now use this photo of a tiger cub. I have cut it out from the background. The tutorial for cutting out an image from the background is here.
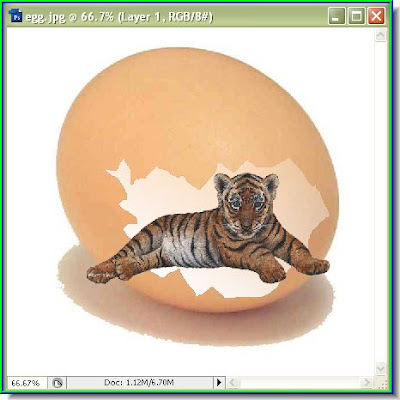
Step 36 : I have placed the tiger cub's photo over the egg.
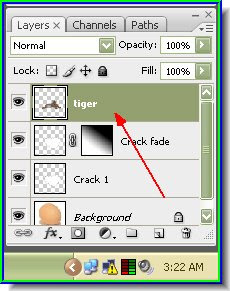
Step 37 : Notice that the tiger cub's photo is on the topmost layer.

Step 38 : Now again go the Channels pallette. CTRL+ALT+Click on the 'egg' layer, then again CTRL+ALT+Click on the 'crack layer'.
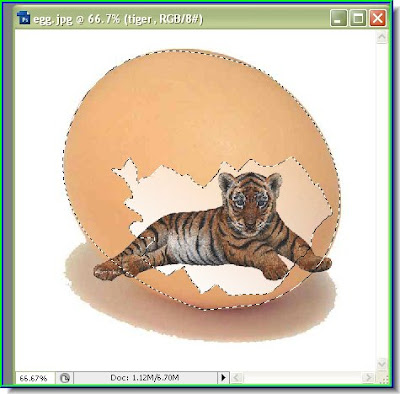
Step 39 : This will make the selection re-emerge as shown above.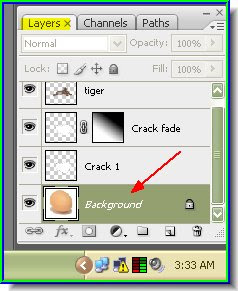
Step 40 : With the selection in place, click back on the Layers pallette. Double clcik on the Background which contains the photo of the egg and rename it egg. Then press CTRL+J on the keyboard.
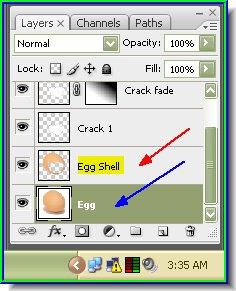
Step 41 : Pressing CTRL + J on the Bckground Layer will make a new layer form above it. I have renamed it 'Egg Shell'.
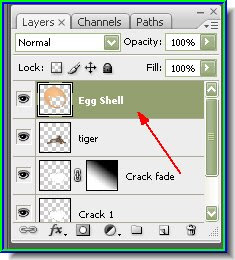
Step 42 : Now drag the 'egg shell' layer right to the top and place it over the tiger layer.
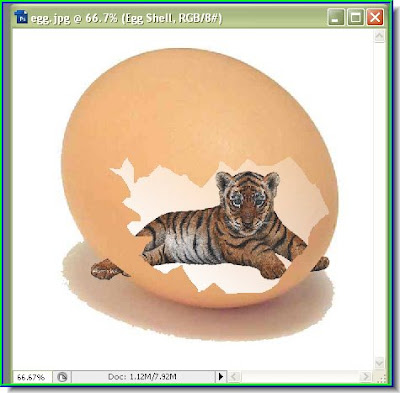
Step 43 : This is how the image looks.
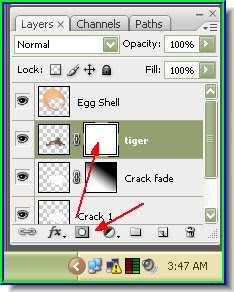
Step 44 : Click the tiger layer. Then click the Add Layer Mask button. The Layer Mask forms next to the tiger layer.
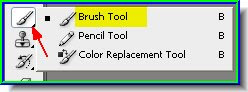
Step 46 : Now click on the Brush Tool. Make sure that the Foreground Color is set to Black.
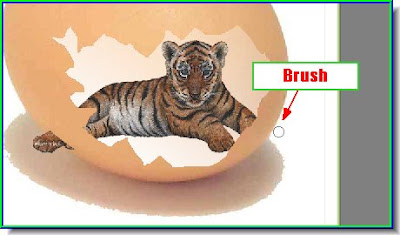
Step 47 : Use the Brush Tool to gently wipe out the parts of the tiger falling outside the egg shell. Here I have wiped away one of its paws.
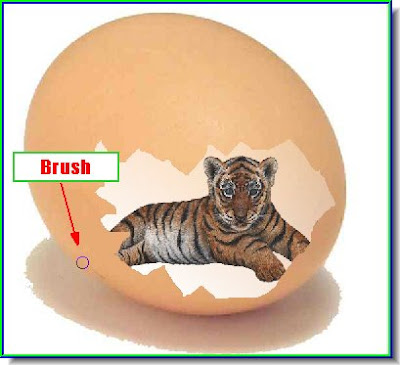
Step 48 : I have wiped away the other paw with the Brush Tool.

There you are. The tiger cub safely ensconsed in an egg. You can put anything inside the egg. It only depends on your imagination. The steps will remain the same.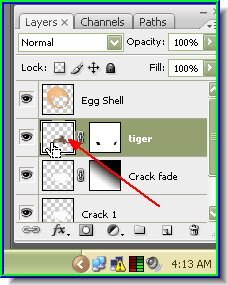
Step 49 : Click onthe layer thumbnail of the tiger layer to select it.
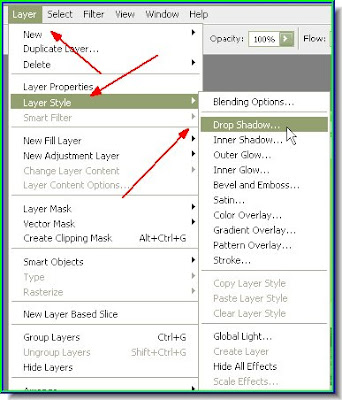
Step 50 : Go to Layer>Layer Style>Drop Shadow.
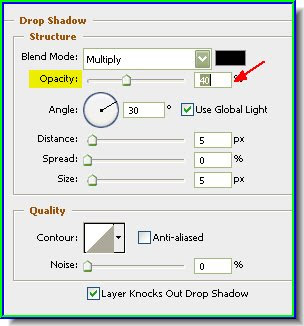
Step 51 : In the Drop Shadow dialogue box which opens decrease the Opacity to between 40 to 50 % depending on your image.

Here is the completed picture. Have fun.


