
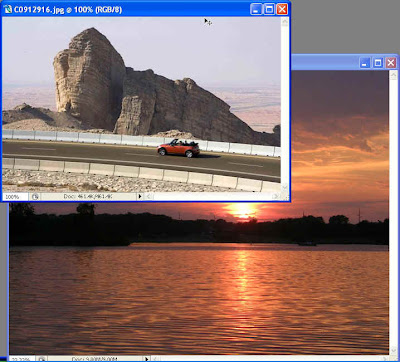
 Step 1 : I have opened these two photos in Photoshop which I will blend using a Quick Mask.
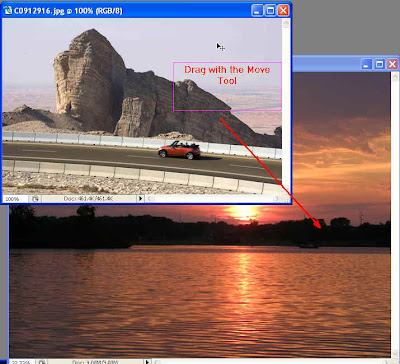
Step 2 : Click on the Move Tool and drag the image on top to the one at the bottom. Keep the SHIFT key pressed all the while.
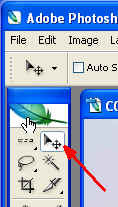
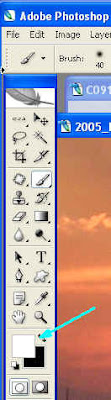
Step 3 : If you do not know where the Move Tool is click where the red arrow points to. That is the Move Tool. Click to select it.
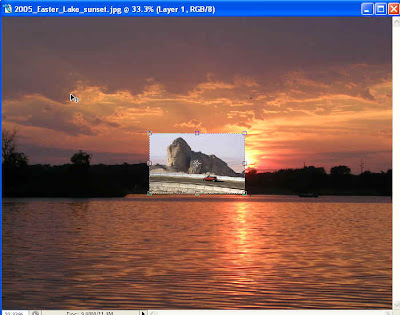
Step 4 : The image of the car in the mountains has been dragged onto the image of the sunset.
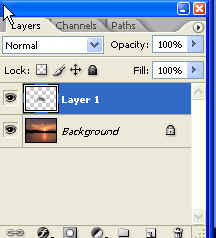
Step 5 : Look at the Layers/Channels/Paths pallette at the right bottom of Photoshop. You will find small thumbnails of the layers. The sunset which is at the botom has turned into 'Background'. The Background cannot be edited. But there are ways to get around it. But you need not bother here. The photo of the car has become Layer1and lies above the Background. Now to return to the layers.
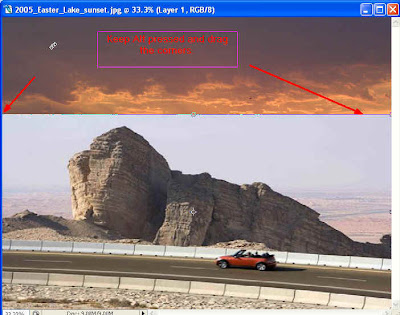
Step 6 : Use the Move Tool to bring the car image so that it sits lower on the background image. Now press ALT on the keyboard and drag anyone of the corners. This will resize the image of the car proportionately, which will now cover the entire bottom part of the image.
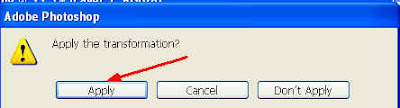
Step 7 : Click the Move Tool or any other Tool. This pops up. Click 'Apply'.
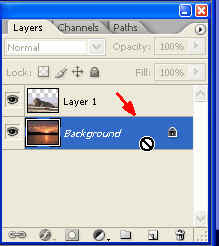
Step 8 : In the Layers/Channels/Paths pallette click on the 'Background' to select it. It cannot be edited. Double click it.
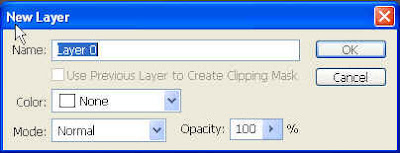
Step 9 : Double clicking the 'Background' will bring up this dialogue box. Click ok.
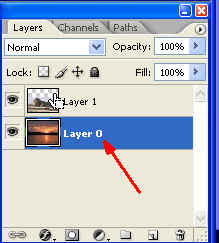
Step 10 : This will change the 'Background' to 'Layer 0 (zero)'. This can now be edited.

Step 11 : Click again on Layer 1 to select it.
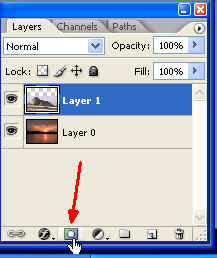
Step 12 : Click on the Add Layer Mask button shown by the hand and red arrow.
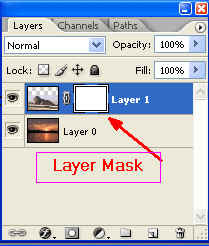
Step 13 : The white rectangle is the Layer Mask. It is invisible.
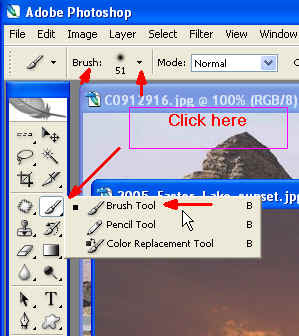
Step 14 : Click the Brush Tool. See where it is located. Now click on top.
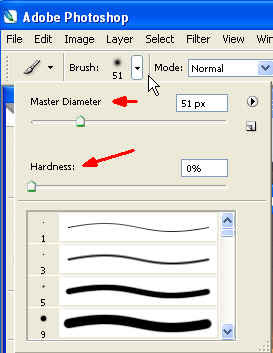
Step 15 : When you click where the white arrow points this dialogue box opens. Drag the hardness slider to the extreme left. The Master Diameter refers to the size of the brush (or the cursor).
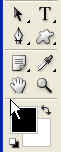
Step 16 : Make sure that the Forground color is set to black and the background to white. Click on the small bent arrow to switch between the foreground and background colors.
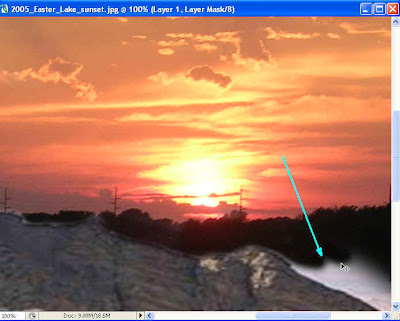
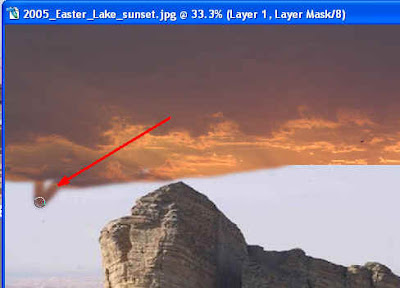 Step 17 : You can see how the brush is wiping away the foreground and revealing more of the background.
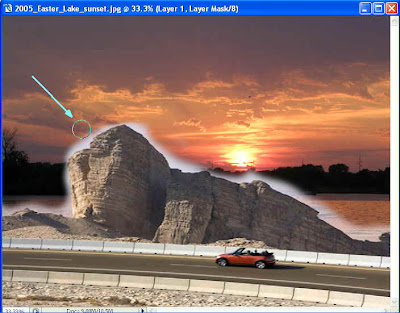
Step 18 : Most of the background has been wiped away.
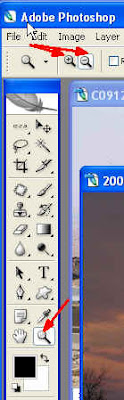
Step 19 : Click on the Zoom Tool. You can see where it is located (see the red arrow). Also look at the red arrows at the top. The one pointing to the magnifying glass with the plus sign is to zoom in and the one with the minus to zoom out.
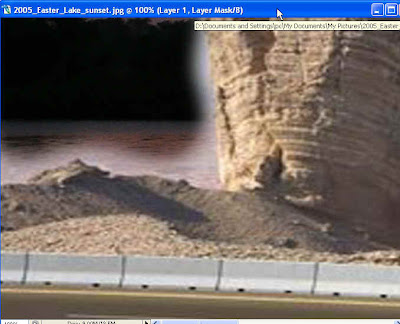
Step 20 : I have zoomed in on the image.
Step 21 : It's easier to wipe away the zoomed out image.
Step 22 : Click the forground to white if you make any any mistake. Then paint away the mistake.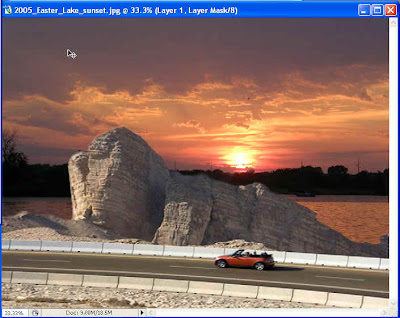
Here is the completed image. The two images seem to be one. Save yur work.


