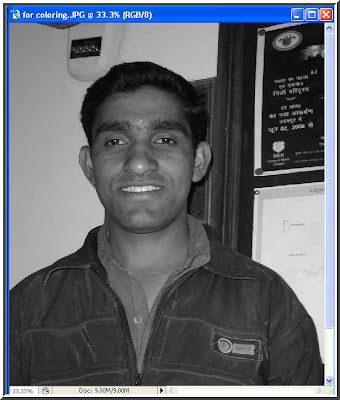
Step 1 : I have opened this black and white photo. It has a good resolution. A low resolution photo may be difficult to color because details will become hazy when you zoom into the image, which will be required to be done quite often.
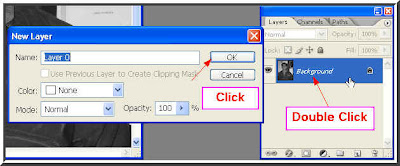
Step 2 : Double click the 'Background' in the Layers/Channels/Paths pallete. The New Layer dialogue box pops up (left). Click ok.
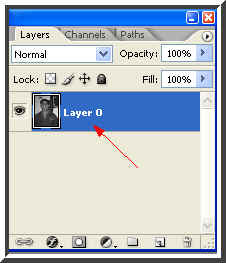
Step 3 : The 'Background' changes to Layer 0. It is now editable. A Background layer cannot be edited.
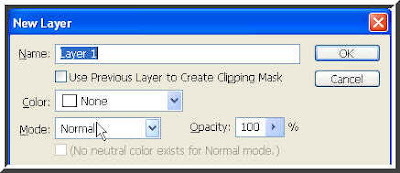
Step 4 : Press CTRL+SHIFT+N on the keyboard and this dialogue box opens. Do not click ok.
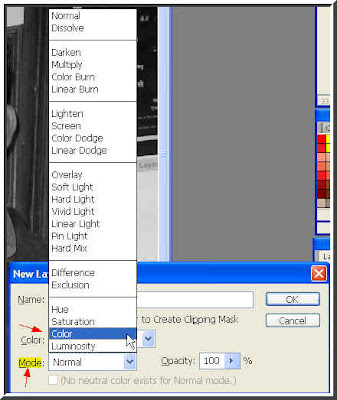
Step 5 : Click where the white arrow points to and change the Mode to Color from the pop up dialogue.
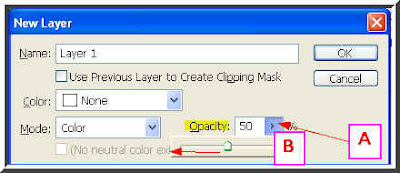
Step 6 : Now lower the Opacity to 50 % by clicking on where 'A' points to. Clicking it will reveal the Opacity slider. Drag it down to 50 %.
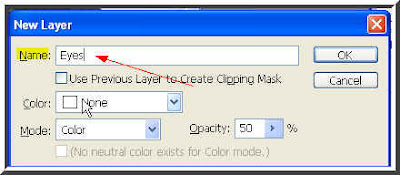
Step 7 : I have changed the name of the layer to 'Eyes' because I want to work on the eyes first. Naming the layers is necessary as there will be a lot of them. If you do not name them it may get to be confusing. Now click ok. These steps will have to be followed again and again. They are quite easy and you should be able to do them.
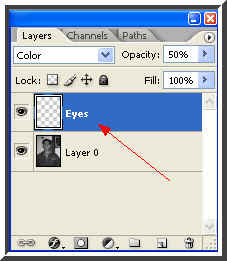
Step 8 : The 'Eyes' layer now sits on top of Layer 0 in the Layers/Paths/Channels dialogue box. Now to get down to the actual coloring. I will begin with the eyes.

Step 9 : Click on the Zoom Tool.
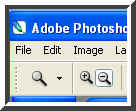
Step 10 : When you click on the Zoom Tool you will find the magnifying glass icon with a plus and minus at the top. The plus is to zoom in and the minus is to zoom out.
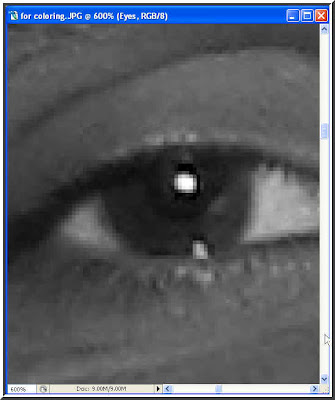
Step 11 : I have zoomed in on the left eye so that I can see it clearly.
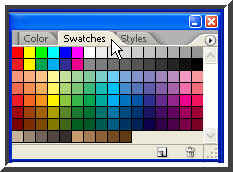
Step 12 : Now click on the Swatches found on the rightside of Photoshop.
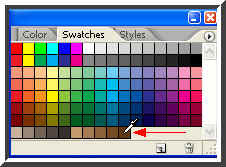
Step 13 : Hover the cursor on a color and an eyedropper will show up. Use it to pick the color. I have picked a shade of brown for coloring the pupil of the eyes. Click the color with the eyedropper.

Step 14 : Note as soon as I pick the shade, the Foreground color changes to that shade.

Step 15 : Now click on the Brush Tool.
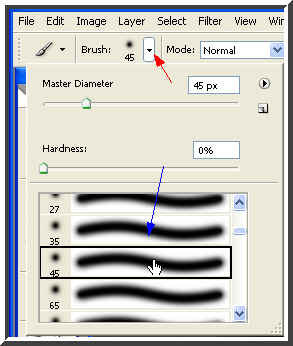
Step 16 : Now click on the top panel where the red arrow points to it will reveal the brushes pallete. There are both 'Hard' and 'Soft' brushes. A soft brush is required and I have chosen one by clicking on it (blue arrow).
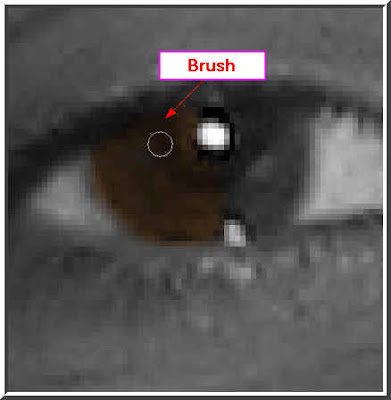
Step 17 : I have begun coloring the pupil with the brush and the chosen color. The advantage of zooming in enables me to see the pupil in detail.
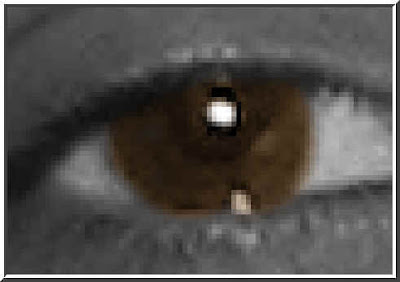
Step 18 : The pupil has been colored. I will now color the other pupil in the same way.
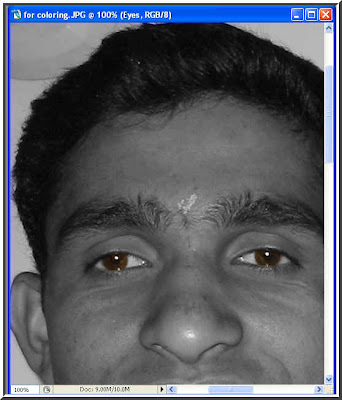
Step 19 : Now both the pupils have been colored.
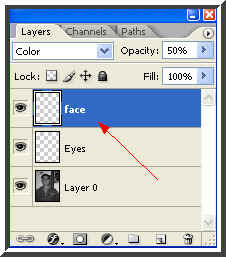
Step 20 : Now make a fresh layer as shown in Step 4 to 8 and name it face. I will now color the face.
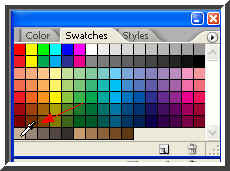
Step 21 : This is the color I have selected from the 'Swatches' for the skin tone on the face.
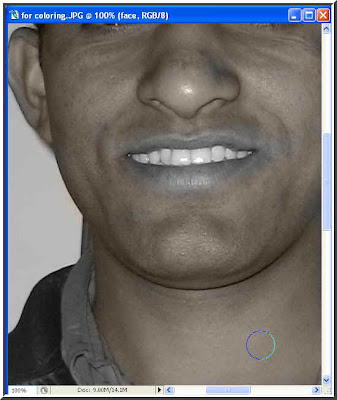
Step 22 : I have begun coloring the face. Tip : Use the bracket keys [ ] for makiing the size of tip large or small. Use [ to decrease the brush tip and ] for increasing its size. You will need to do this as you zoom in. Should you go wrong use the Erase Tool to wipe it out, then switch back to the Brush Tool.

Step 23 : This is the Eraser Tool. Click to select it.
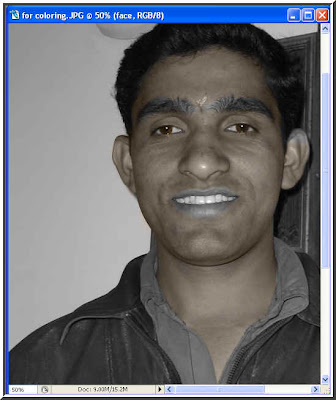
Step 24 : The face as been painted. The lips will be done next.
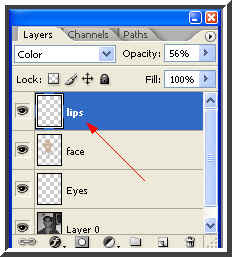
Step 25 : Make another layer and name it 'Lips.
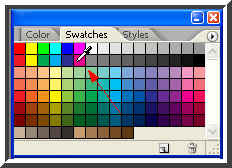
Step 26 : I have chosen this color for the lips.
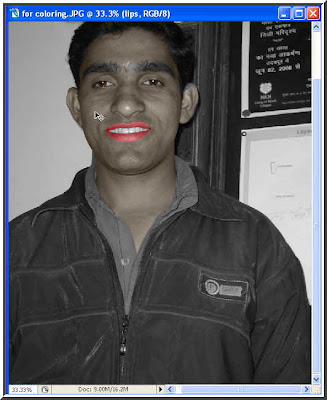
Step 27 : The lips look really red. That has to be fixed.
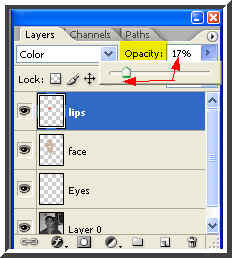
Step 28 : Just lower the opacity for the lips layer by dragging the slider to the left.
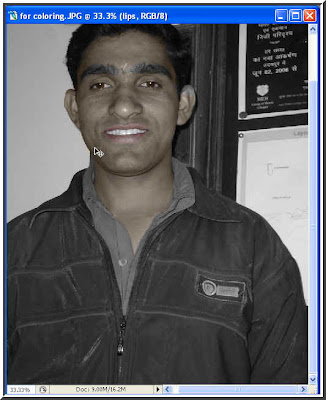
Step 29 : The lips now look look natural.
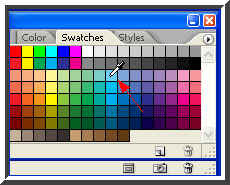
Step 30 : Now I will paint the shirt and I have chosen a light blue color for it from the Swatches.I have already made a new layer and labelled it shirt.
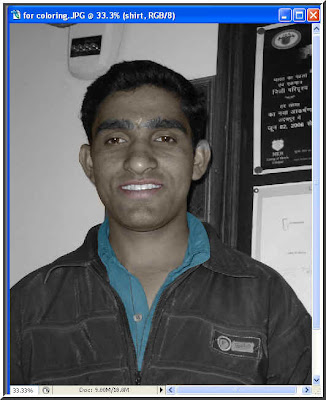
Step 31 : The shirt has now been colored a light blue.
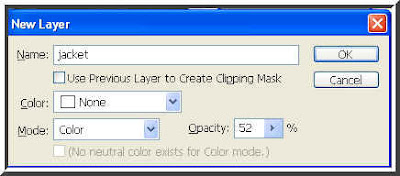
Step 32 : Press CTRL+SHIFT+N to make a new layer just as in Steps 4 to 8. I have labelled this jacket. I will be coloring it next. Click ok.
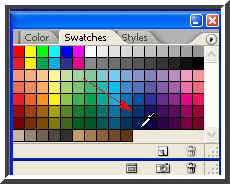
Step 33 : I have chosen this shade of blue from the Swatches.
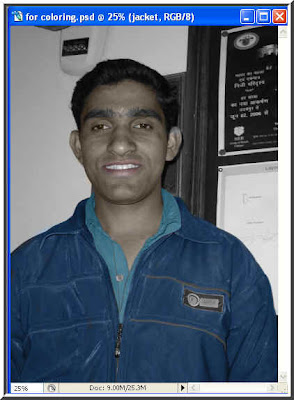
Step 34 : The jacket has now been colored. I will now color the label on the jacket.
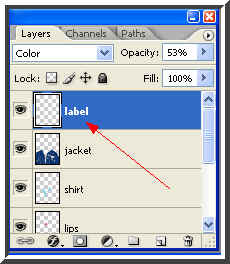
Step 35 : Press CTRL+SHIFT+N and make a new layer as earlier and label it Label.
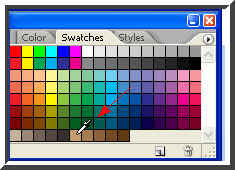
Step 36 : This is the color I have chosen for the label.
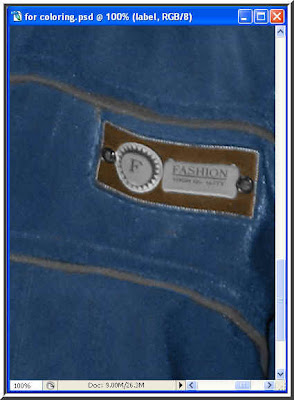
Step 37 : The label has been colored.
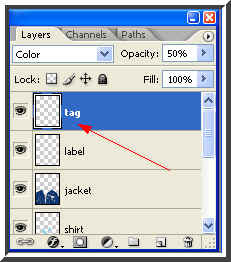
Step 38 : I have made another layer by pessing CTRL+SHIFT+N as in earlier and labelled it tag.
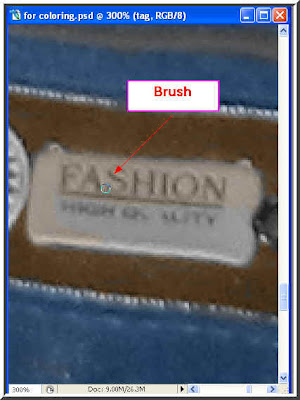
Step 39 : I am coloring the tag a light color that I have chosen.
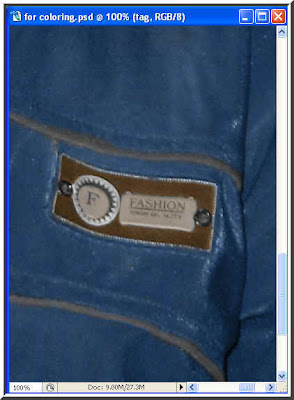
Step 40 : The tag has been colored. You should pay attention to such minor detail. It will make your finished work really good.
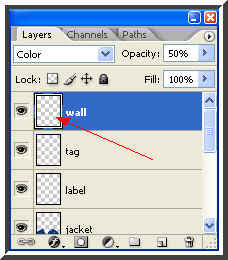
Step 41 : I will now color the wall. Again make a new layer and label it wall. You can now understand why I have been naming each layer. Look at the Layers/Channels/Paths pallette and look at the number of layers. If I had not named them then they would have been very confusing.
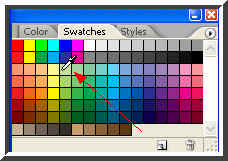
Step 42 : I have chosen a pastel pea green from the Swatches. If you hover your cursor over the colors you will be able to read the names of the shades and colors.
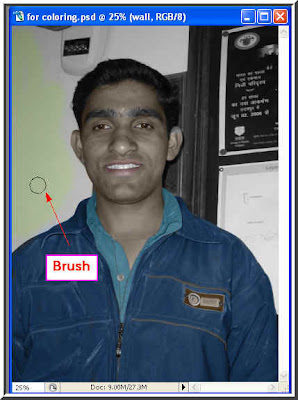
Step 43 : I have begun painting the wall.
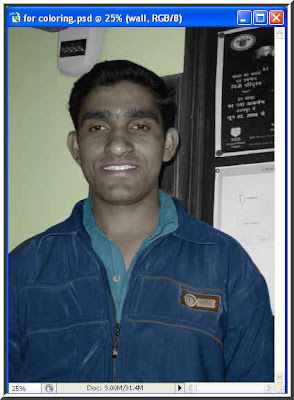
Step 44 : The wall has been painted.
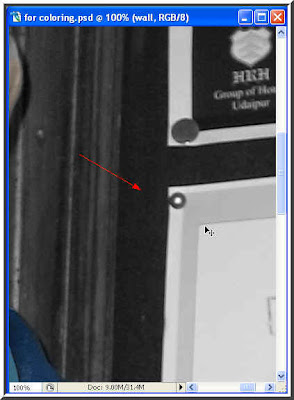
Step 45 : I will now color the felt on the notice board. I have zoomed in on it. Make another layer and label it felt.
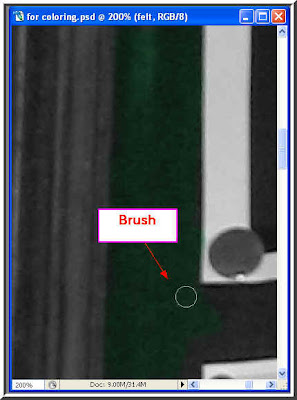
Step 46 : I am now coloring the felt a dark green, which is usually its color. I have zoomed in to work in detail.
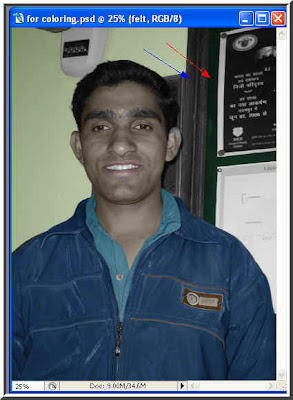
Step 47 : The felt of the noticeboard has been colored dark green. I will now color the wooden frame by making yet another layer.
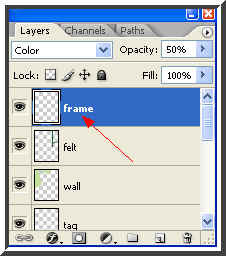
Step 48 : I have made yet another layer for the frame.
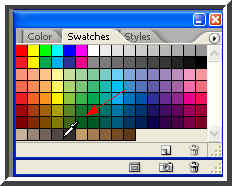
Step 49 : I have chosen a brown shade for the wooden frame.
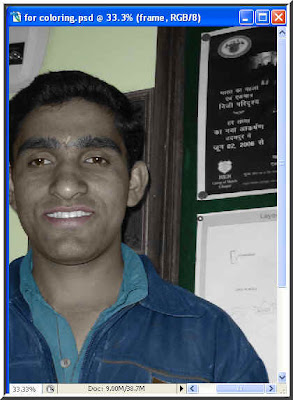
Step 50 : The frame has now been colored brown.
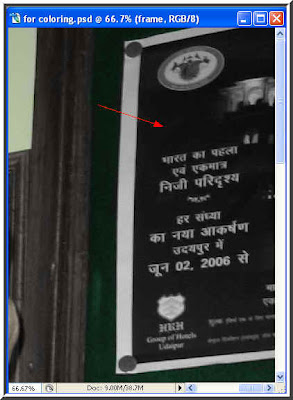
Step 51 : I will now color the notice a dark blue by zooming on it and making another new layer which I will name notice.
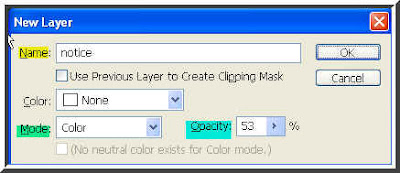
Step 52 : The New Layer dialogue box. The Name has been changed to notice, the Mode to Color and Opacity reduced to 50 %. Click ok. This is the method I have been following for all the layers and which I had described at the outset of this tutorial.
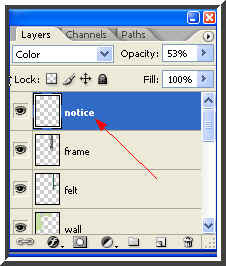
Step 53 : The notice layer is now visible in the Layers/Channels/Paths pallette.
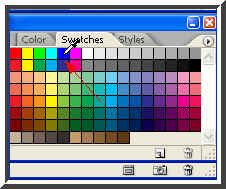
Step 54 : I have chosen this shade of blue for the notice.
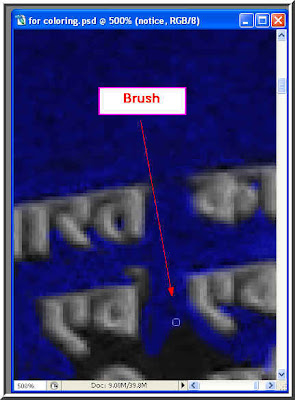 Step 55 : I have zoomed in on the letters in Hindi on the noticeboard for painting it.
 Step 55 : I have zoomed in on the letters in Hindi on the noticeboard for painting it.
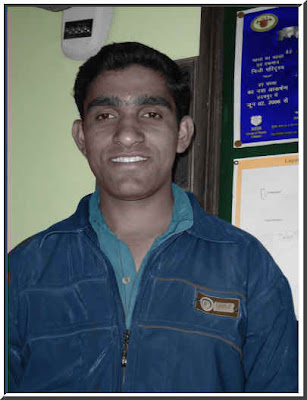
This is the black and white image changed to color. Try it out.


